My first Linux laptop
Overview
Debian Linux base install – 1
Step by step instructions to install the system

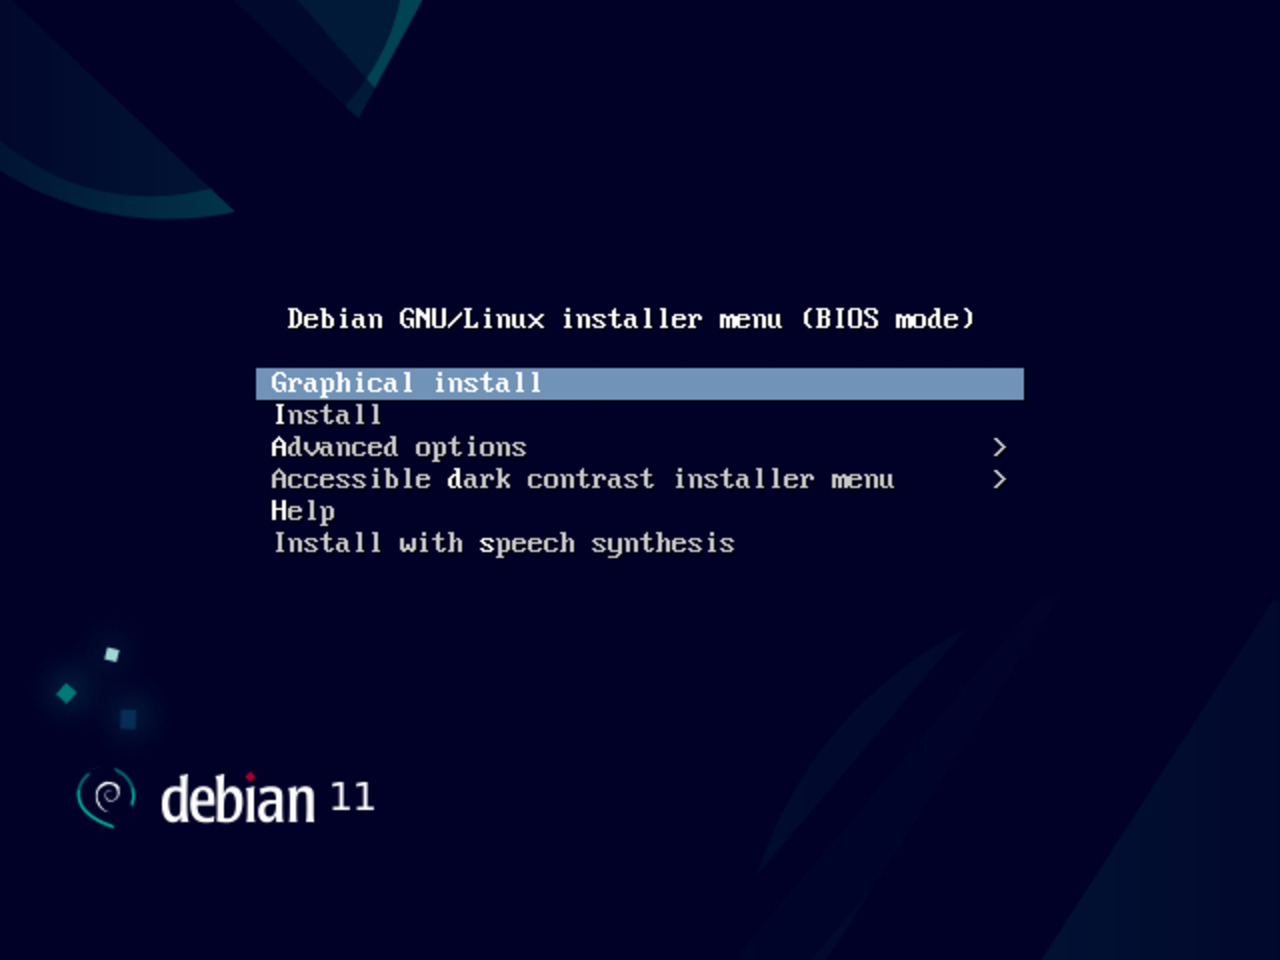
10 - Selecting the installation mode
Select the graphical installation mode, which allows the use of the mouse and that is more pleasant to look at.
Press the Enter key or double click the highlighted link to validate your choice.
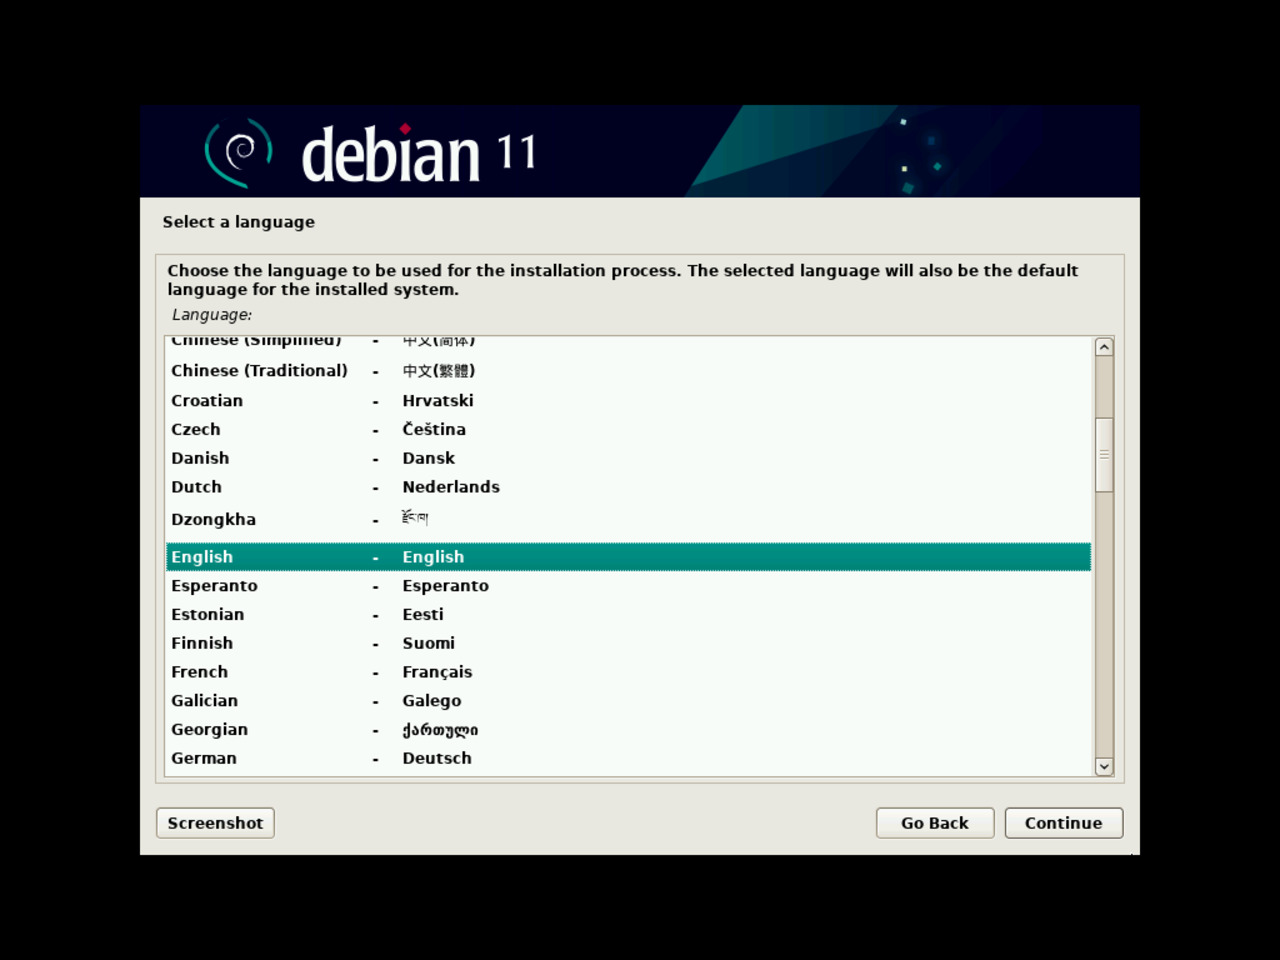
11 - Selecting the OS language
Select the language in which you would like to perform your installation and click the “Continue” button.
Please note that you will be able later to run your Linux laptop in other languages, but this topic is not covered here.
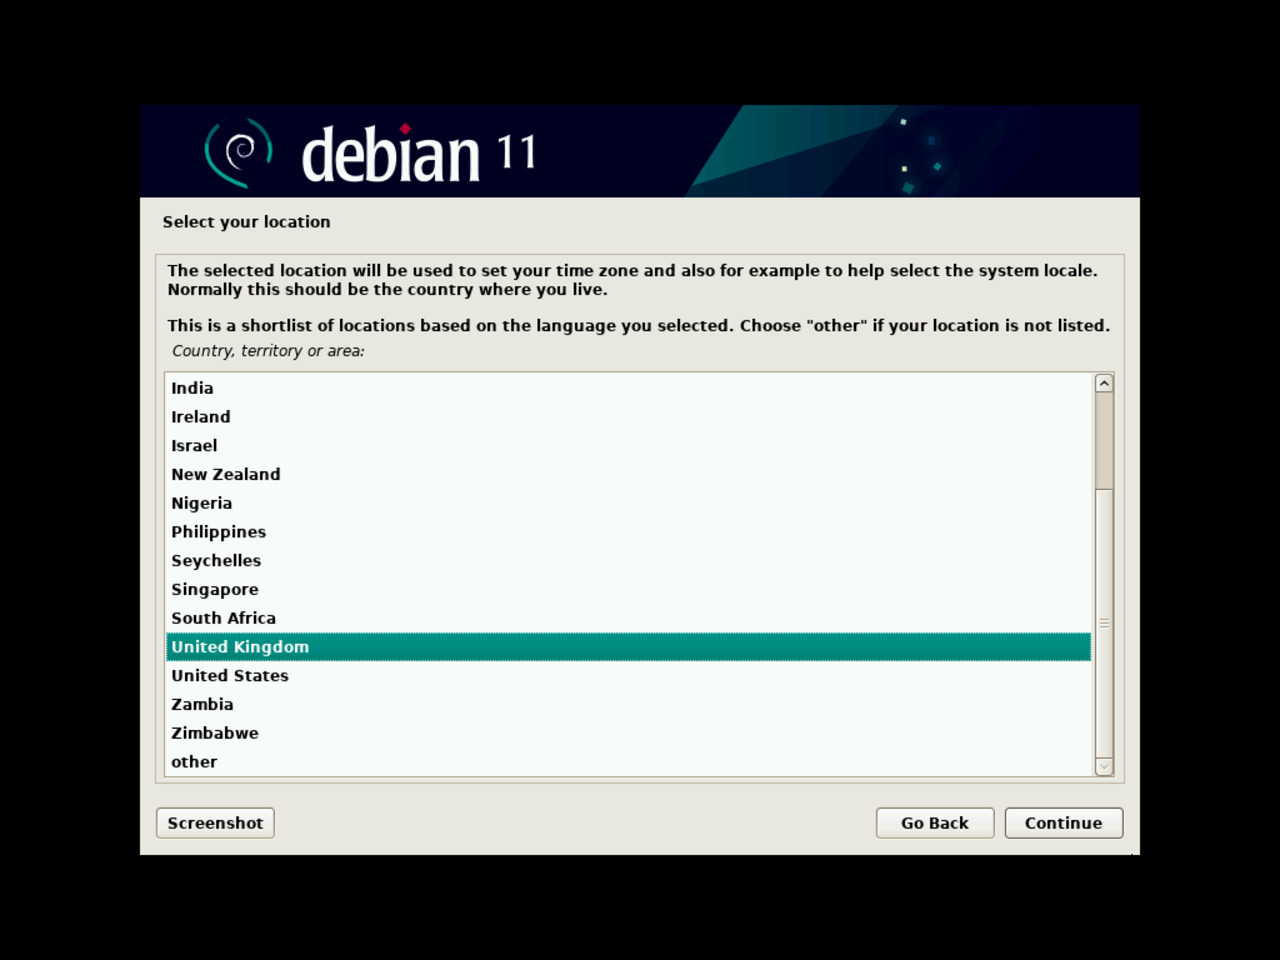
You will then be offered to select your location, navigating through different continents and regions proposals.
Depending on the language that you have chosen, the process will filter the proposed location, offering only selected language related locations.
Select the “other” option if necessary, and the suitable world zone afterwards.
12 - Selecting location
System's local parameter set, the “locale”, will be used based on the selected location.
You either can scroll the page to find your location, or type the first letters of your country to get some help to find it.
If you made a typo, just remove the characters from the bottom right entry field.
Click “Continue” when you are ready.
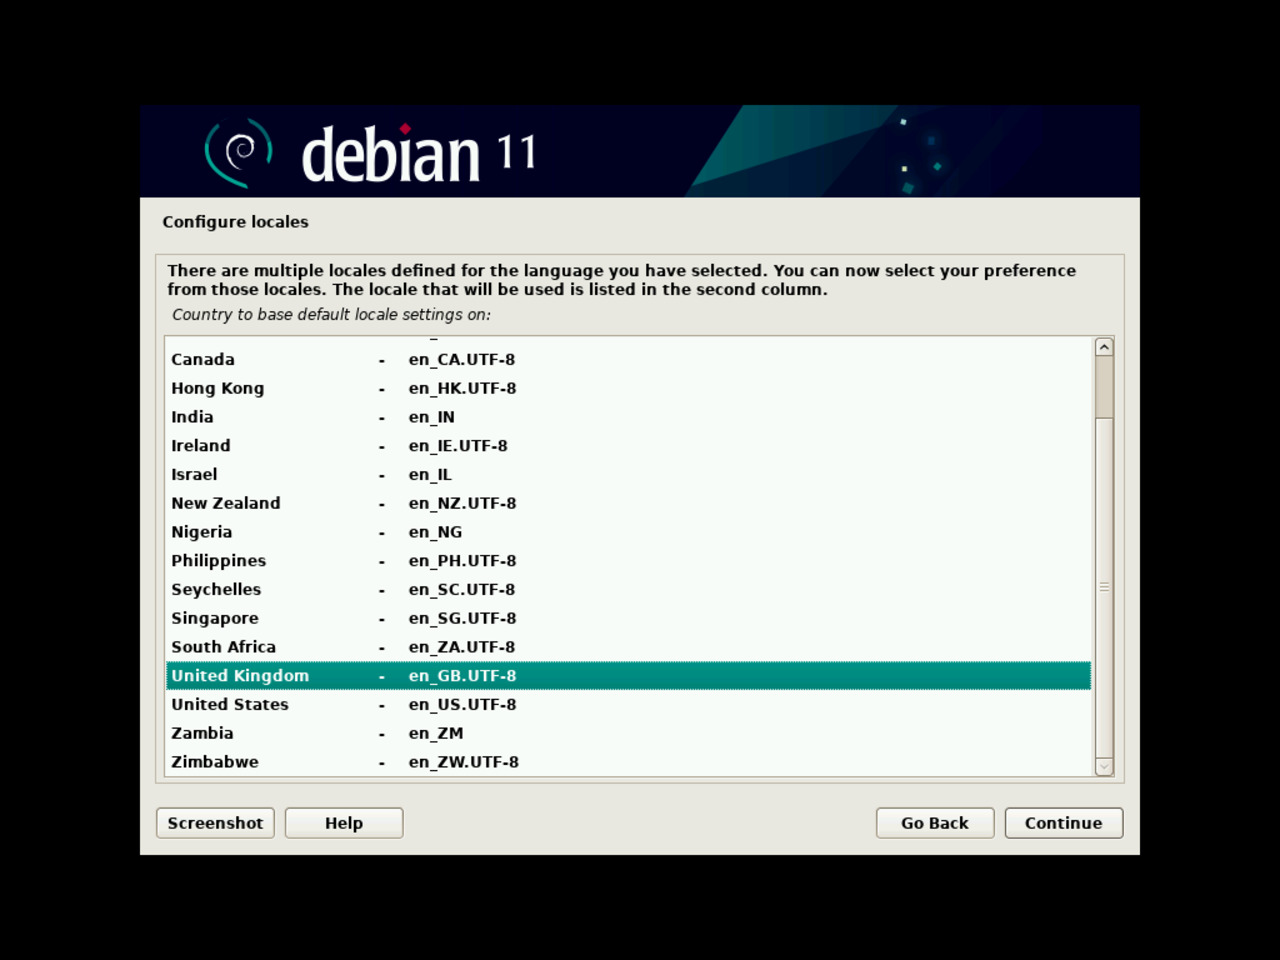
13 - Selecting local parameter set
As explained on the installation screen, no “locale” matches the country selected for demonstration purposes.
United States selected locales have the following behavior:
- Time Formats: 11:59:00 PM
- Date Formats: 7/16/11
- Number Formats: 4,294,967.00
- International Monetary Formats: $1,234.56
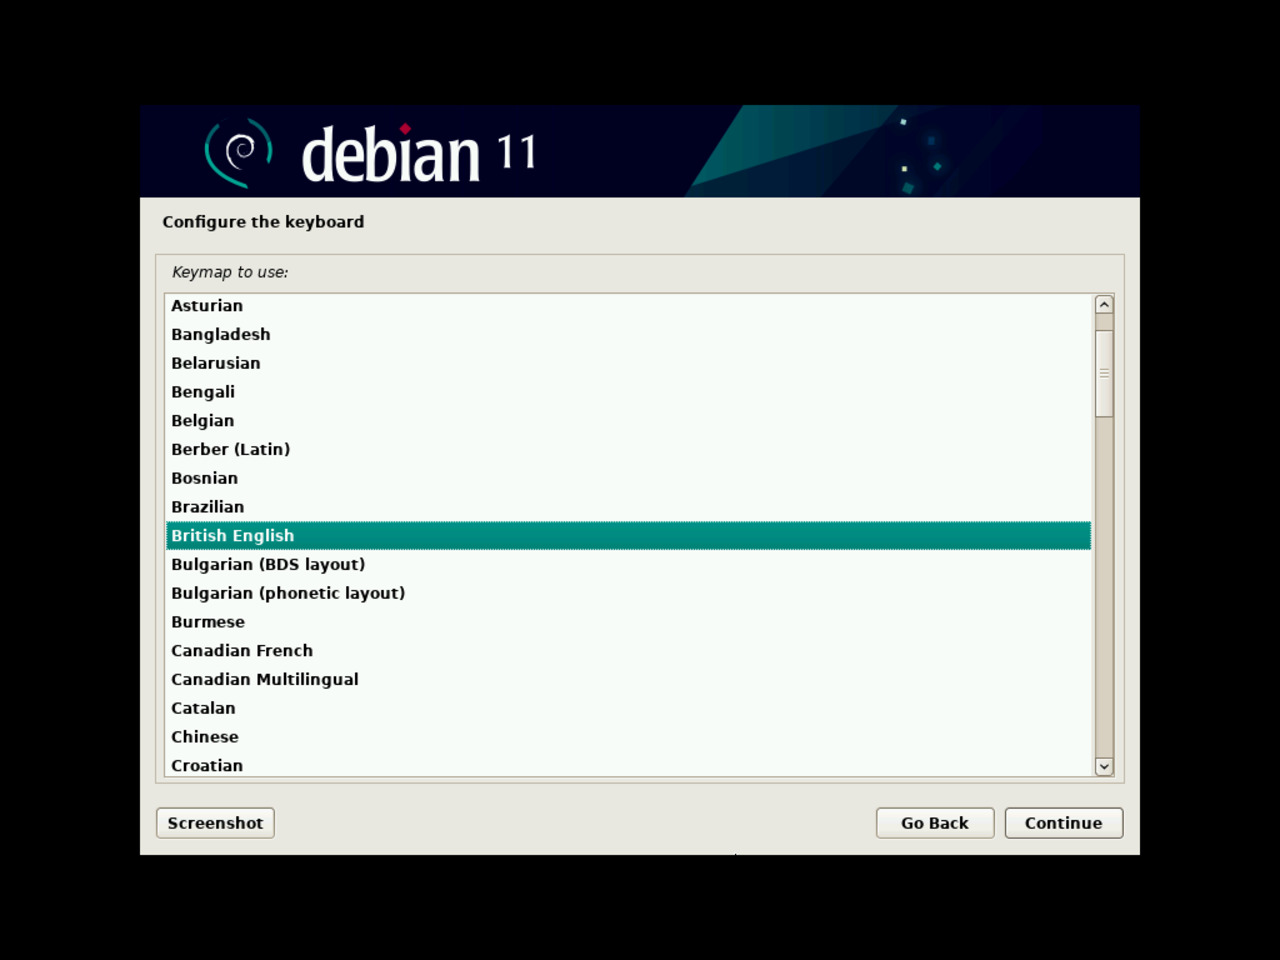
14 - Configuring the keyboard map
Select from the list the keyboard mapping of your laptop.
Like for previous long lists, you can type the first letters instead of scrolling the entire list.
Right after the keyboard configuration step, the installation process will run through several operations that do not require your intervention.
It will detect and mount (make available) the CD-ROM; even though you are using a USB memory stick, the software image that it holds still makes it look like a CD-ROM drive for the system.
All required components will then be retrieved from the mounted “CD-ROM” before detecting the available network interfaces.
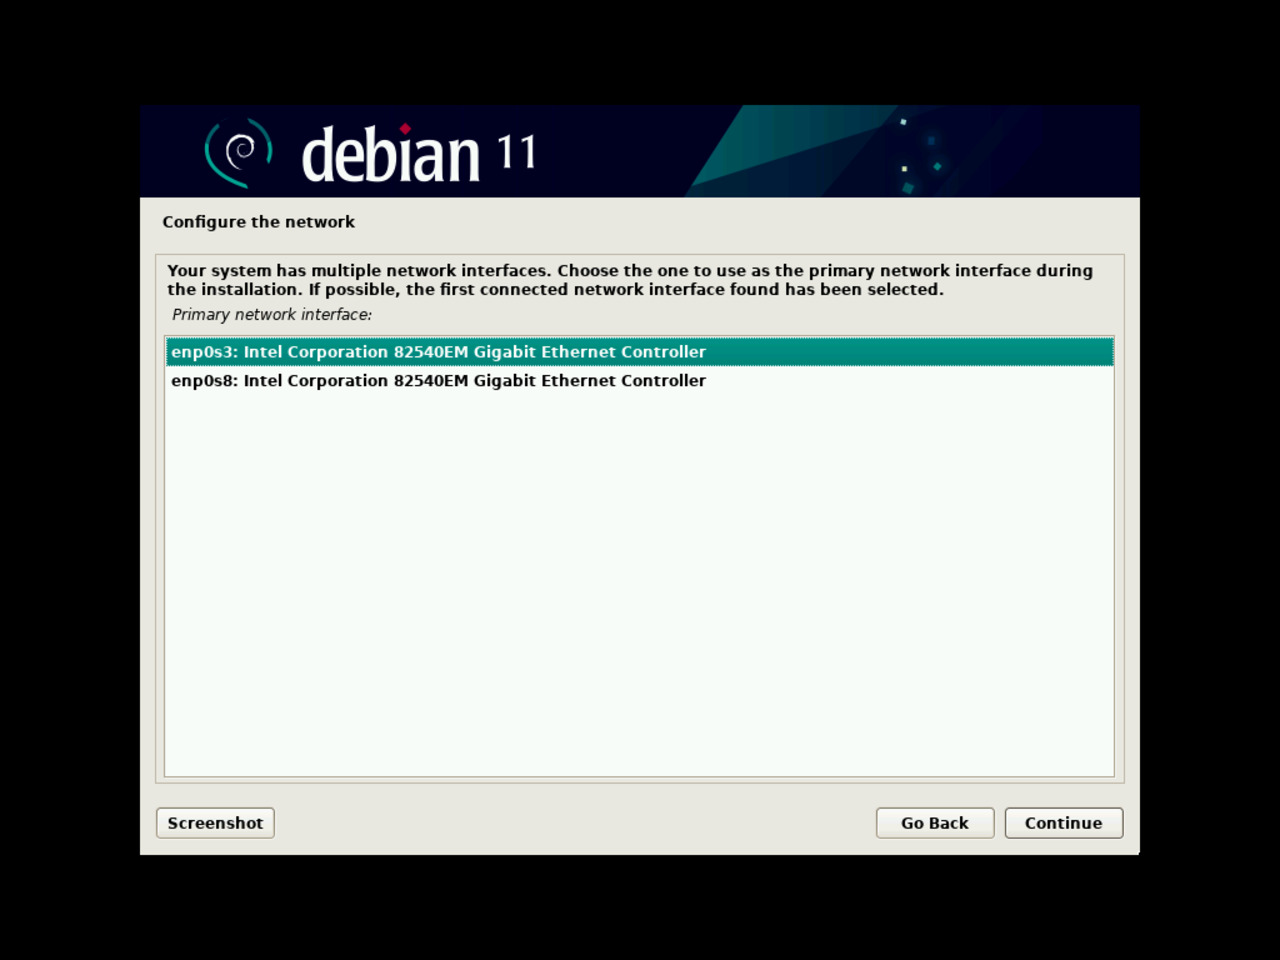
15 - Configuring the network
Only if your laptop has more than one network interface, wired and WiFi, for example, it will halt for you to select the appropriate device for your laptop.
You should leave the automatically selected device as the desired network interface before pressing the “Continue” button.
If your laptop has only one network interface, this step will be skipped by the installation process.
Once the network interface selected, the installation process will execute configuration tasks.